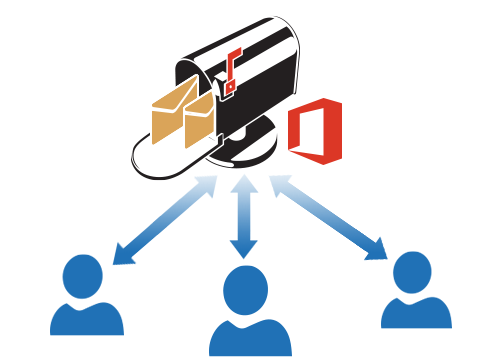
Shared Mailbox

Connecting a Shared Mailbox to Outlook in Office 365
Connecting a shared mailbox to Outlook in Office 365 requires following certain steps and meeting specific prerequisites. Below is a detailed guide:
Prerequisites
-
Access to the Shared Mailbox:
Ensure you have the appropriate permissions (e.g., "Full Access" or "Send As") assigned by an administrator via the Microsoft 365 Admin Center or PowerShell.
-
Office 365 Account:
- You must have a valid and configured Microsoft 365 account with access to Outlook and the shared mailbox.
-
Outlook Version:
- Use a supported version of Outlook, such as Outlook 2016, 2019, or Microsoft 365 apps for Windows/Mac.
-
Internet Connection:
- A stable internet connection is required to access Office 365 services.
Adding a Shared Mailbox in Outlook
Automatic Addition (if access is granted):
If you have access to the shared mailbox, it will automatically appear in the left panel of Outlook once permissions are configured.
This happens without additional setup if the administrator assigned Full Access rights.
Manual Addition:
-
Open Outlook Settings:
- Go to File > Account Settings > Account Settings.
-
Modify the Account:
- Select your Office 365 account and click Change.
-
More Settings:
- Click More Settings and navigate to the Advanced tab.
-
Add Shared Mailbox:
- Under "Open these additional mailboxes," click Add and enter the shared mailbox email address.
- Click OK and close the windows.
-
Restart Outlook:
- Close and reopen Outlook to see the shared mailbox in the navigation panel.
Connecting a Shared Mailbox via Outlook Web App (OWA)
-
Log in to OWA:
- Navigate to https://outlook.office365.com and log in with your Office 365 account.
-
Open the Mailbox:
- Click your profile icon in the top-right corner and select Open another mailbox.
-
Select the Mailbox:
- Enter the email address of the shared mailbox and press Enter.
- The shared mailbox will open in a new window/tab.
Troubleshooting Common Issues
-
Mailbox Not Displayed:
Contact your administrator to ensure permissions are assigned properly.
Verify that you have the correct permissions.
-
Synchronization Issues:
Update Outlook to the latest version.
Check your internet connection.
-
Admin Rights Needed:
- If you cannot access the shared mailbox, contact your IT administrator.
Delegating Access to a Shared Mailbox
If another user needs access to the shared mailbox (and to configure it in their Outlook profile), the mailbox owner must grant permissions.
Action 1: Delegate Access
-
Open Outlook:
- Go to File > Account Settings > Delegate Access.
-
Add User:
- Click Add and select the user(s) who need access.
-
Set Permission Level:
- Assign Editor permissions for Inbox, Calendar, and other sections as needed.
- Click OK to save changes.
Action 2: Configure Specific Permissions for a Shared Mailbox
-
Access Shared Mailbox Properties:
- Right-click the shared mailbox and select Data File Properties.
-
Set Permissions:
- Go to the Permissions tab.
- Click Add to include the user's name or email address.
- Assign Editor permissions under Read (Full Details).
Summary
Connecting a shared mailbox to Outlook in Office 365 is a straightforward process if prerequisites are met. Whether automatically or manually, you can ensure seamless access and collaboration for your team. For advanced setups, such as delegating access, proper configuration by the mailbox owner or administrator is required. These steps will enhance your organization's email management and ensure smooth communication.
